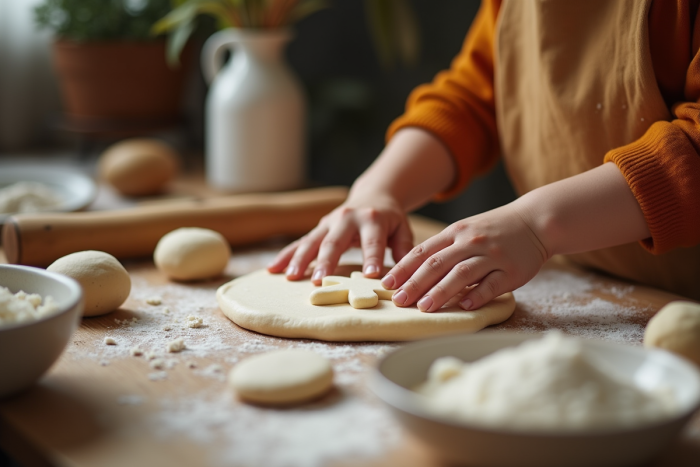
Creative workshops at home are experiencing a resurgence of interest, and salt dough is among the favorite materials to unleash creativity. Easy to prepare with everyday ingredients, it appeals to both young and old due to its versatility.
However, one question remains: how to create durable works with this material? By mastering a few simple techniques, it is possible to create solid and lasting objects, ideal for decorations or personalized gifts. Here are some tips to successfully create with salt dough and make your creations last over time.
Steps to Make Homemade Salt Dough
To obtain quality salt dough, first gather the ingredients needed: one cup of fine salt, two cups of flour, and one cup of warm water. These proportions ensure a soft and easy-to-work dough.
Necessary Equipment
- A large bowl
- A mixing spoon
- A cloth
- An oven (if baking)
- Your hands (or an electric mixer to ease the mixing)
Preparation Steps
1. Pour the fine salt and flour into the large bowl. Mix these two dry ingredients to obtain a homogeneous base.
2. Gradually add the warm water while mixing with the spoon. The goal is to form a soft dough, not too sticky and not too dry.
3. Knead the dough with your hands until it becomes elastic and homogeneous. If the dough is sticky, add a little flour. If it is too dry, add a little water.
For more complex creations or for a no-bake salt dough recipe, it is possible to adapt the steps. Conservation techniques are crucial for the durability of the works, as explained in detail on the page ‘Secrets de conservation de la pâte à sel sans cuisson pour des œuvres durables – La Table de Jeanne’.
Drying and Baking
Two methods are available to harden your creations:
- Air drying: ideal for small pieces. Allow to dry for several days in a dry, well-ventilated area.
- Baking in the oven: for quick hardening. Preheat the oven to 100°C and bake the items for 2 hours. Monitor the baking to avoid cracks.
By following these steps, you will obtain quality salt dough, ready to be shaped into durable works. 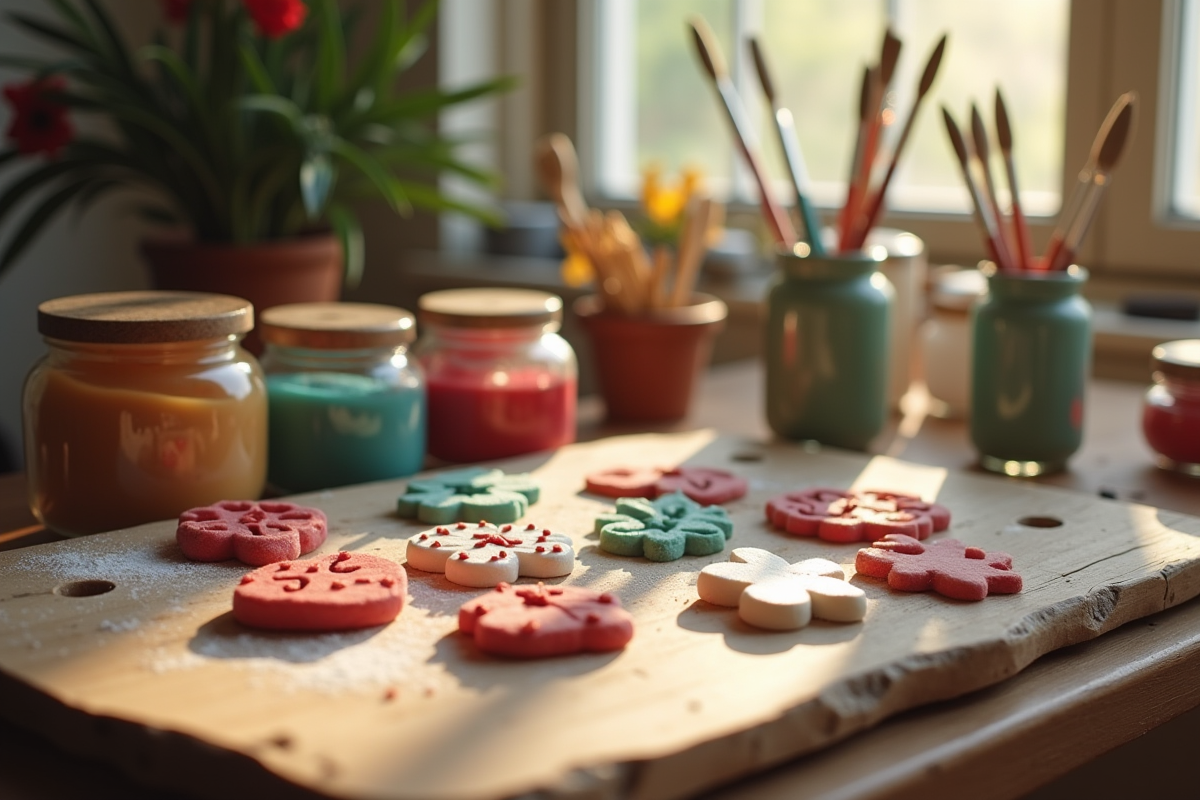
Tips for Creating Durable Works
Conservation
Ensuring good conservation of your salt dough creations is essential for their longevity. Here are some techniques:
- Apply a clear varnish after baking. This protects the surface from moisture.
- Store the works in a dry place away from direct light.
- Avoid mechanical shocks that could crack or break the pieces.
Coloring
To add color to your creations, several options are available. Food coloring can be mixed directly into the dough before shaping. You can also use spices like turmeric for yellow shades or paprika for red hues.
Decoration
Decorating your works is a fundamental step for personalization. You can choose to:
- Use acrylic paint after baking for a precise and durable finish.
- Add glitter, seeds, or buttons for varied textures.
- Use felt for colorful and soft details.
Experiment with different techniques to create unique and durable works. Salt dough offers a multitude of creative possibilities, it’s up to you to explore them.